Find out in only 2 min
Take the free quiz to reveal the perfect Showit website template for your business!
Which Showit Website Is Right For You?

Get early access to the sale
Black Friday is coming.


Disclosure: This post contains affiliate links.
Canva is one of the best online design platforms that millions of people use to create stunning graphics. For years I’ve been using Canva to create designs for freelance clients and Canva templates for my shop.
One of the features I love most about Canva is the ability to custom your designs while maintaining your brand’s look and feel.
The free Canva account includes the use of hundreds of fonts while the paid account, Canva Pro unlocks even more features including even more font options and the ability to add your own font.
I’m going to show you exactly how to add your own font to Canva, it’s so easy!
1. Login to Canva
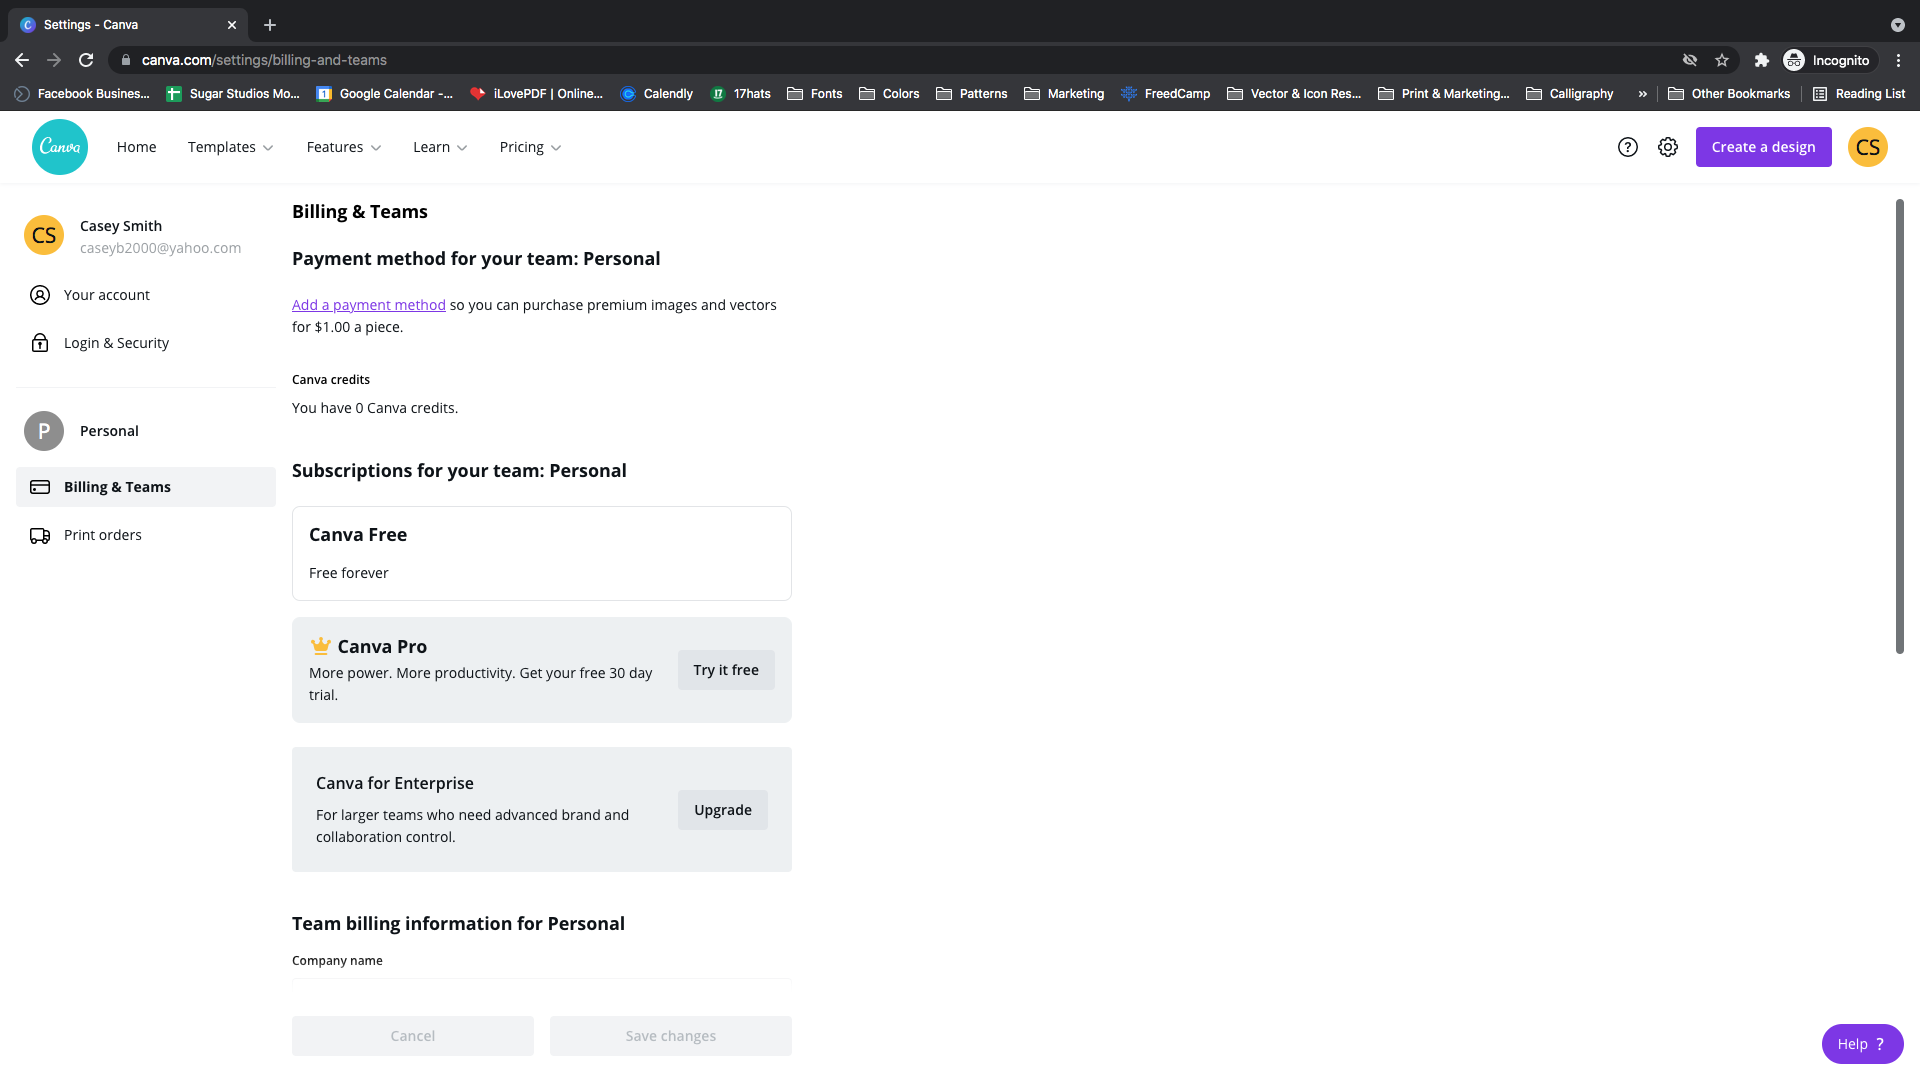
In order to upload your font to Canva, you MUST have a Canva Pro account. If you don’t have the Pro version, login to your account now and upgrade by going to Account Settings > Billing & Teams. There you’ll see the option to upgrade.
2. Open Your Canva Brand Kit
Your Canva Pro account includes a Brand Kit page which allows you to set your default brand fonts, logo and color palette. Navigate to the Brand Kit link in the left column.
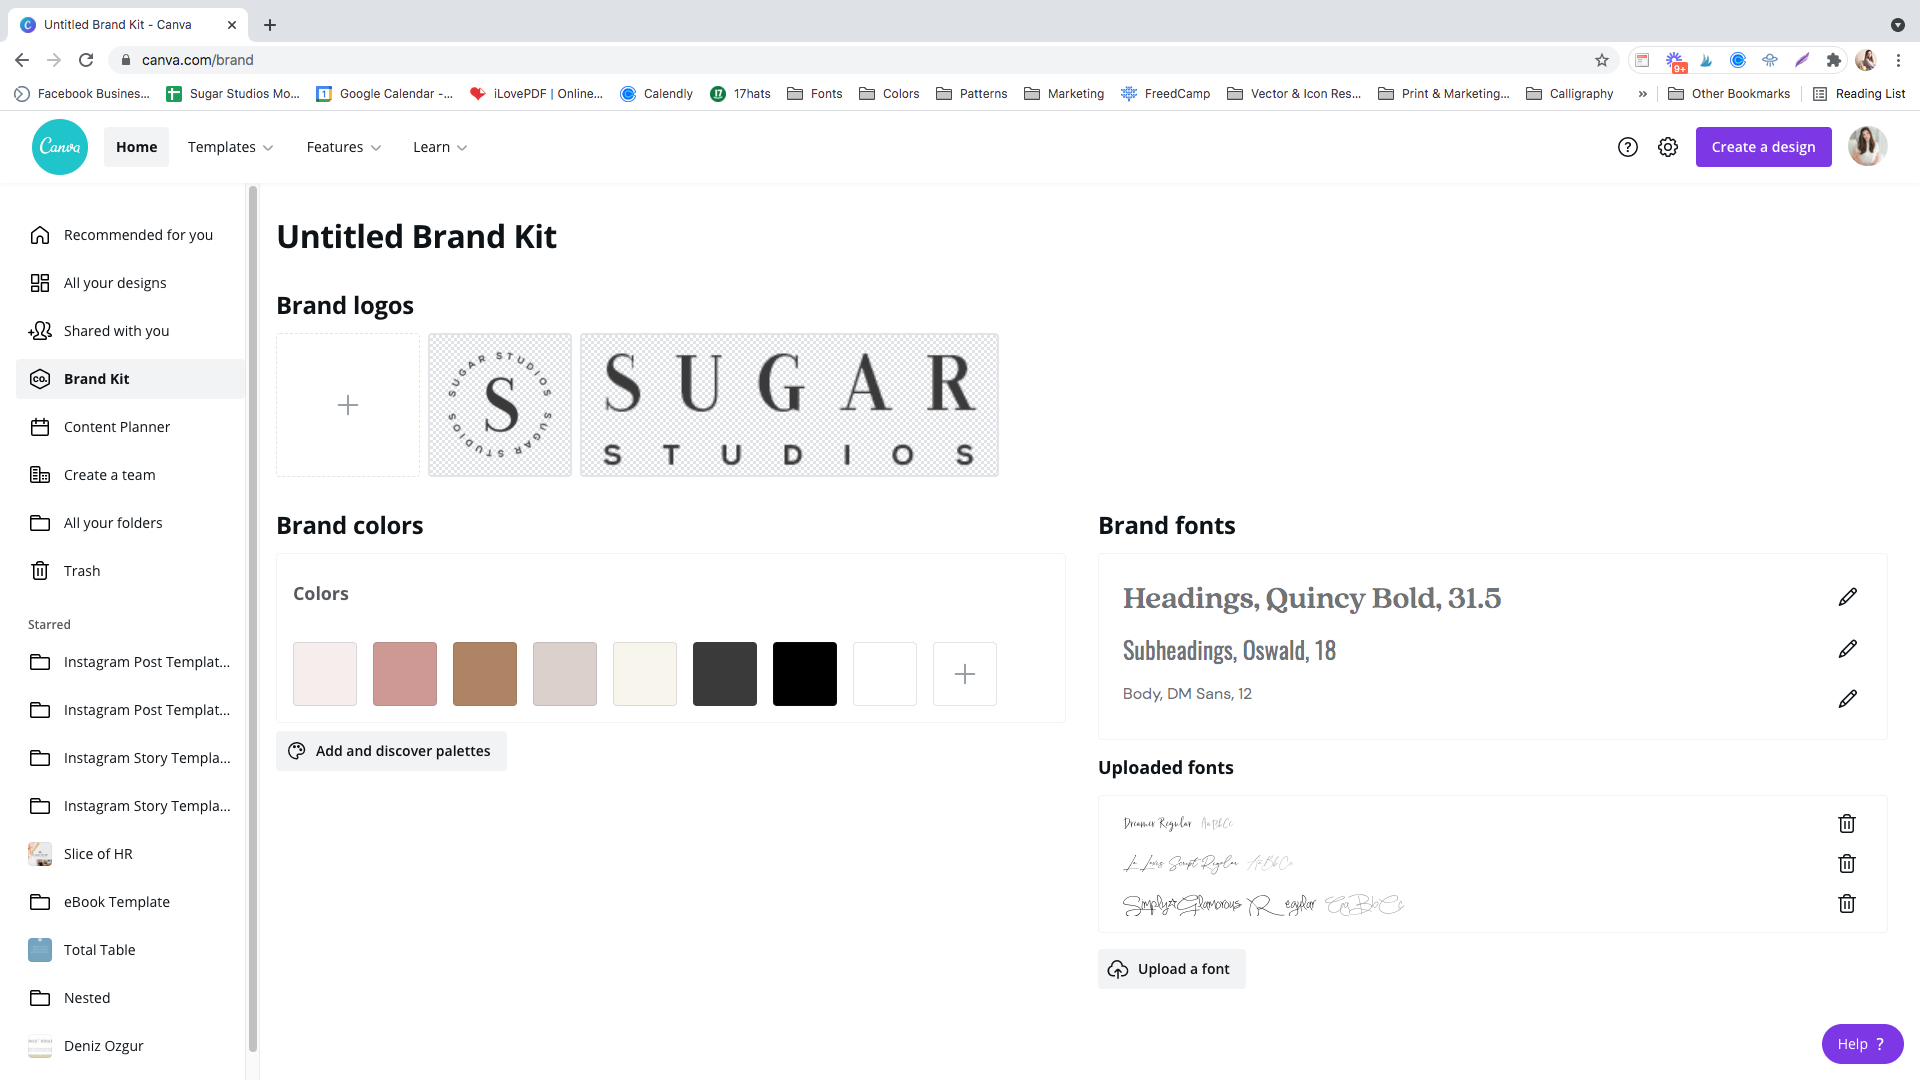
3. Upload Your Font to Canva
In your Brand Kit select Upload A Font and browse for the file on your computer. Canva supports OTF, TTF, and WOFF file formats. Click Yes to consent that you are the owner of the font file and the font will then be added to your account!
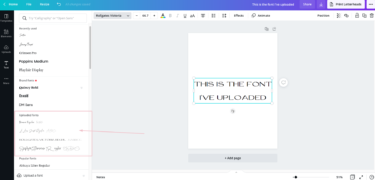
4. Begin Using Your Custom Font
Open up one of your designs in Canva and you’ll see your custom font has been added!
What do you think of this tutorial? Do you have any questions for me about Canva? Ask me in the comments box below!
Love this post? You might also like...


$157 - PAYMENTS AS LOW AS $36.75/MO
Showit Website Template for Health Coach

$157 - PAYMENTS AS LOW AS $36.75/MO
Showit Website Template for Coaches

$157 - PAYMENTS AS LOW AS $36.75/MO
Showit Website Template for Virtual Assistant

$157 - Payments as low as $36.75/MO
Showit Website Template for Coaches


Boost Your Business with Fun Quizzes!
Free Quizzes
Leave a Reply

Next Story
Previous Story


TAKE THE QUIZ
Discover your brand's unique personality + reveal a special offer!


