Find out in only 2 min
Take the free quiz to reveal the perfect Showit website template for your business!
Which Showit Website Is Right For You?

Get early access to the sale
Black Friday is coming.


When I first started using Showit I was thrilled to see that Showit uses WordPress for managing your blog. This made SO much sense to me since WordPress is the world’s best blogging platform and I love that Showit wasn’t trying to reinvent the wheel so to speak and utilized what was already the superior blogging tool.
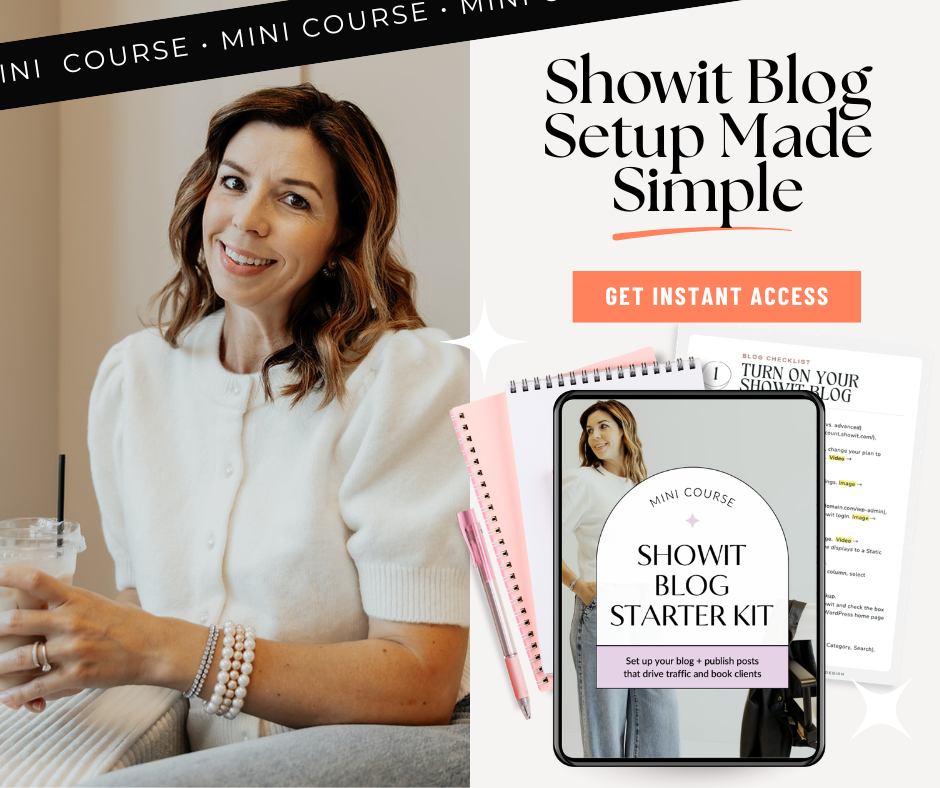
If you’re new to blogging, I’m here to walk you through all of the steps to setting up your blog with Showit and I even have a Showit Blog Starter Kit – which includes simple, easy to understand checklists, short videos and screenshots to help you get going.
Here’s how you can get started with adding a blog to your Showit business website:
Step 1: Set up your blog
In my Showit Blog Starter Kit, I take you through all of the steps using short videos and simple screenshots that show you the exact steps to get your blog running.
You’ll need to make sure you have blog plan with Showit first, then request a WordPress installation with the Showit team. From there they’ll guide you on how to login to your WordPress dashboard and get started on your blog!
Step 2: Choose what to write about
Before you get started writing your first blog post, plan out at least three topics you want to write about. These should be related to your business and labeled very clearly (see example below).
I recommend starting with 3 categories, with a maximum over time of of 5-8. Make sure your blog post filed under only 1 category, otherwise it may be confusing to the reader.
Here’s an example of clear and simple categories for a photography blog:
- Weddings
- Travel
- Seniors
- Education
Step 3: Use a simple structure
Here’s where most people starting out with blogging get lost. Keeping a simple structure to each blog post will help engage your readers and help you to not feel overwhelmed with writing blog posts. The Showit Blog Starter Kit includes a plug and play blog template that helps guide you through writing blog posts that stay on topic, give the reader exactly what they need and promote your business.
Step 4: Optimize for search
Blogs are an amazing way to get more traffic to your website, but just having a ton of blog posts may not do the trick to showing up in search engine results. Make sure your blog posts are optimized by adding title tags to your headlines (H2, H3), choosing SEO rich blog titles, labeling images with alt tags and using an SEO plugin tool like YoastSEO.
Step 5: Publish + promote
Your final step is to publish your blog posts, launch your blog on your Showit website and start promoting your blog posts to attract followers. Try to launch your blog with at least three blog posts so readers get a taste of what you have to offer.
The Showit Blog Start Kit gives you ideas and tips for promoting your blog posts, which include sharing in your marketing emails, turning a blog post into an Instagram reel and Facebook post, and creating pins on Pinterest that link to the blog post.
Summary
Starting a blog with Showit may seem overwhelming at first, but once you figure out what you need to do – it makes publishing so much easier. When you start seeing results in your Google analytics, you’ll be SO happy you added a blog to your Showit webiste!
What do you think of this article? Do you have any questions for me? Ask me in the comments box below!


$157 - PAYMENTS AS LOW AS $36.75/MO
Showit Website Template for Health Coach

$157 - PAYMENTS AS LOW AS $36.75/MO
Showit Website Template for Coaches

$157 - PAYMENTS AS LOW AS $36.75/MO
Showit Website Template for Virtual Assistant

$157 - Payments as low as $36.75/MO
Showit Website Template for Coaches


Boost Your Business with Fun Quizzes!
Free Quizzes
Leave a Reply

Next Story
Previous Story


TAKE THE QUIZ
Discover your brand's unique personality + reveal a special offer!


